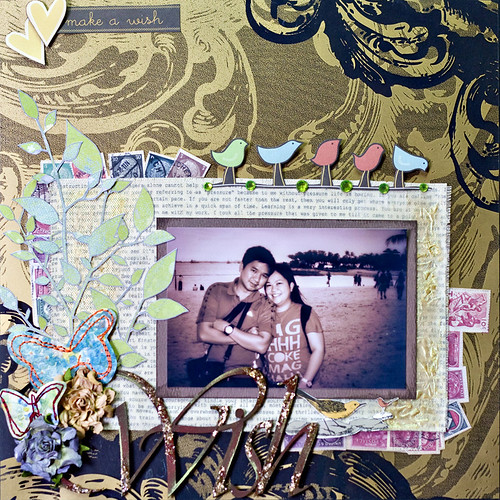
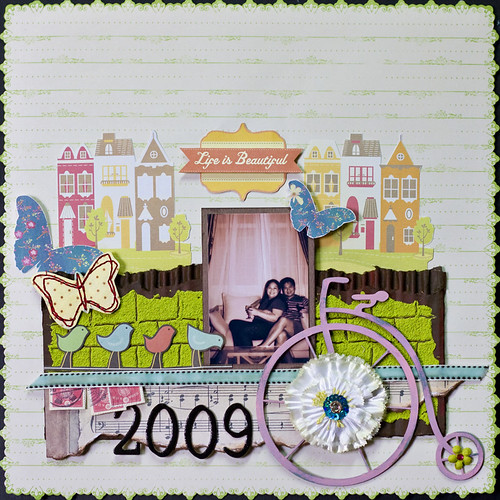
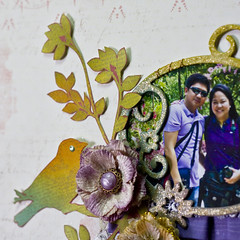
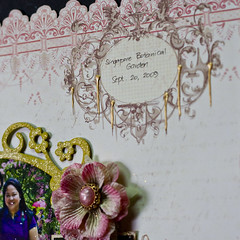
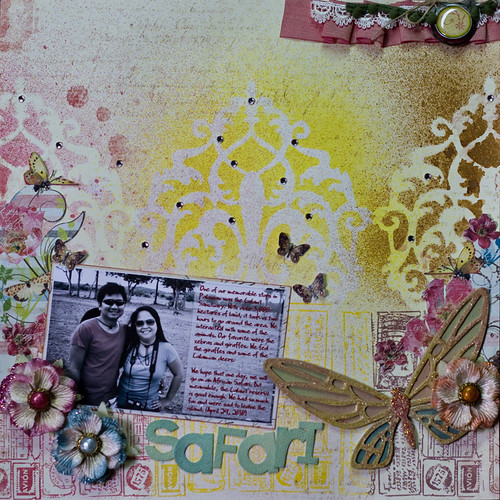
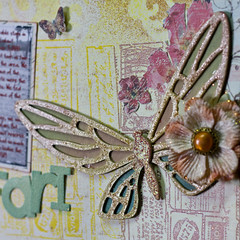
I'm happy to have scrapped in the past two weekends. Actually, I've been scrapping every now and then but didn't have time to take photos. Anyway, I just thought I'd first share my most recent layouts. I am very excited about these because of three reasons: 1) The color scheme are not my usual. I'm not really very big on pink since I usually scrap about our travels, and pink, lots of it, doesn't figure well into our outdoor photos. So, because I have pink papers, I decided to scrap about other people. So another reason why I'm excited about these layouts is: 2) My subjects are totally adorable - kids! My niece, nephew and a friend's daughter. Lastly, it's been a while since I used this brand of scrapbooking stuff. So I love this set because: 3) I used Crate Paper in all of them.
When I showed the layouts to my hubby, he asked me if I will give them to the kids' parents. Hmmm...maybe...or maybe not. I love the layouts and I love these kids. I took the photos myself and they were taken during out of town trips. They are part of my life. So maybe I will hold on to these pages for a while. :D
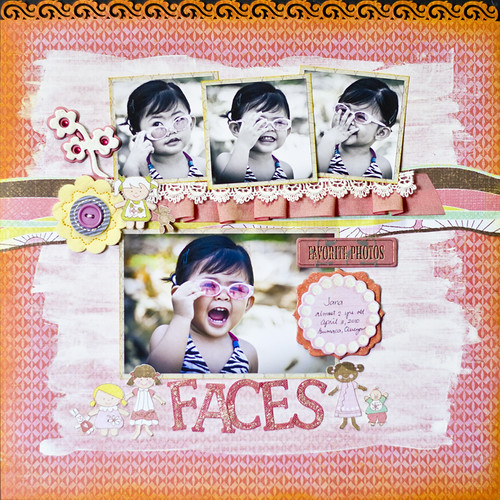
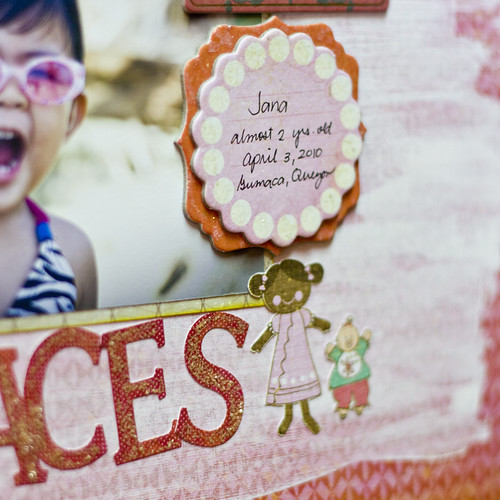
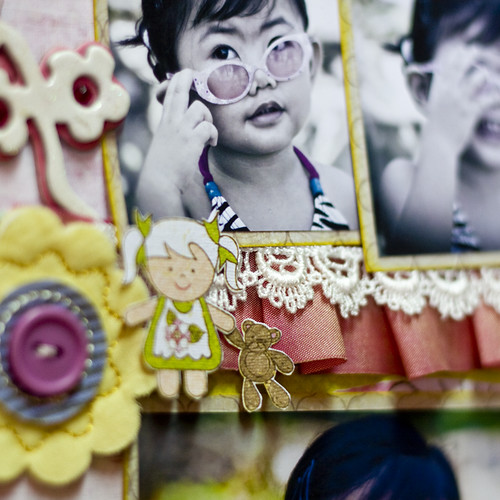
FACES
Materials:
Paper – Crate Paper Pink Plum (Pink Cherry), Paper Doll Collection (Katie Addi), Brook Collection (Sunshine); Ink – Tim Holtz Distress Ink (Mustard); Embellishments – Basic Grey Sugar Rush Fabric Flowers, Chatterbox Chipboard Stickers, Crate Paper Sparkle Chip Pink Plum Collection; Alphas – Basic Grey Sugar Rush Mini Mono Stickers; Others – Ribbon and lace
Instructions:
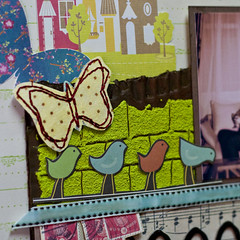
Punch one side of the Pink Cherry paper with an edge puncher. That side will be the top. Apply a thin coat of gesso on the upper portion of the base paper and let dry. This will tone down the color and pattern of the paper. Once dry, sand using fine sand paper to smoothen the painted surface. Using a distress foam, distress around the edges using Mustard Seed Distress Ink. Set aside.
Cut along the wavy line pattern of the Katie paper to make a strip approximately 1.5 inches x 12 inches.
Cut out paper doll patterns from Addi paper.
Matte photos using the Sunshine paper. Apply Mustard Seed distress ink along the edges of the photo matte.
To assemble, adhere the strip of Katie paper on the base, just slightly above the center. Stick ribbons on the strip of paper. Adhere the photos. Adhere the title. Embellish the page with chipboards, pattern cut outs and fabric flowers. To finish, apply distress stickles on the alpha stickers to add sparkle.
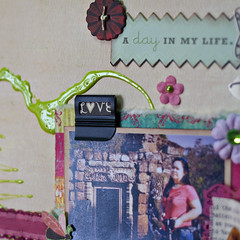
What I love about this layout:
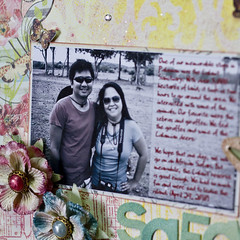
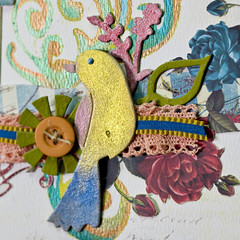
Where do I begin? The photos are just adorable! I think these are some of my favorite portrait shots ever. I also love the techniques used here - the gesso on the base paper, the distressing.
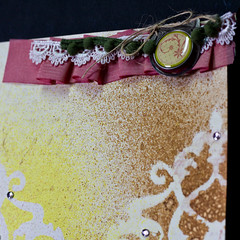
I also love the trim!!! Let me tell you a secret. Do you see the pleated ribbon? It's very easy to make. My secret weapon? The
TINY ATTACHER. The staples are so small you can easily hide them under a layer of trim. So I stapled the pleats and adhered a strip of lace on the ribbon so the staples don't show.
Clever huh! Oh, and before I forget, I LOVE the EK SWIRL BORDER PUNCH! I'm all about tools!
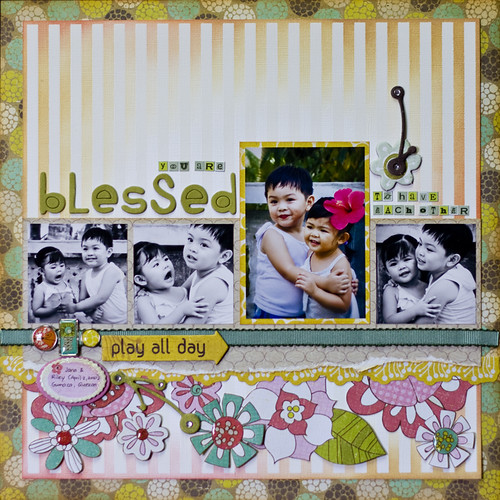
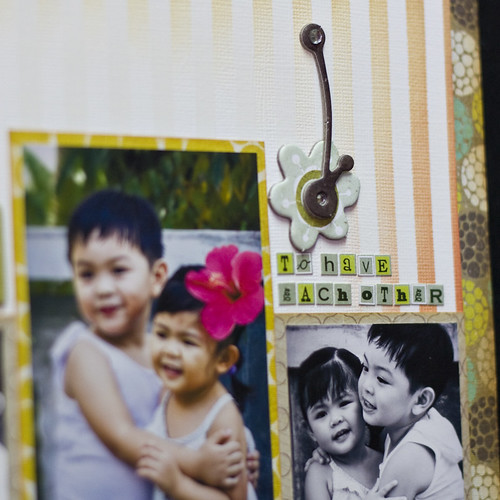
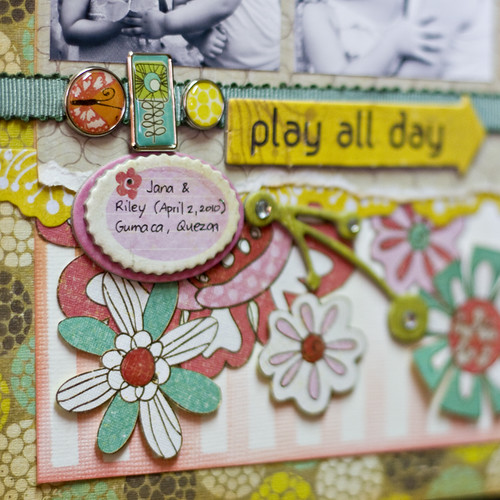
BLESSED
Materials:
Paper – Bazzil Glazed Cardstock, Crate Paper Brook Collection (Pebbles, Sunshine), Crate Paper Paper Doll Collection (Olivia Grace); Ink – Tim Holtz Distress Ink (Worn Lipstick, Antique Linen, Tea Dye); Chipboard – Crate Paper Brook Collection Chipboard Accents, Pink Plum Collection Sparkle Chip; Brads – Crate Paper Brook Collection Art Brads, Crate Paper Pink Plum Collection Art Brads; Stickers – Crate Paper Brook Collection Title Stickers, AdornIt Mini Alphas; Ribbon – Basic Grey; Bling – Basic Grey
Instructions:
Distress edges of Pebbles Paper using Tea Dye Distress Ink.
Cut Glazed cardstock to 11 inch square. Distress around the edges with Tea Dye, Worn Lipstick and Antique Linen inks.
Matte main photo using the reverse side of the Sunshine paper.
Cut Sunshine paper to 3 inches by 12 inches, tearing one long side by hand. Ink the edges with Tea Dye Distress Ink.
Cut patterns from Olivia Grace paper.
To assemble, adhere glazed cardstock on Pebbles paper. Stick Olivia Grace cut outs on the bottom portion of the page. Adhere the 12-inch sticker on top of the cut outs. Adhere the strip of Sunshine Paper partially covering the sticker strip. Stick the photos on the Sunshine Paper. Attach brads on a ribbon and adhere along the bottom of the photo. Adhere the title/journaling and embellish with chipboards and bling. Add clear glaze on the flower centers for added dimension and texture.
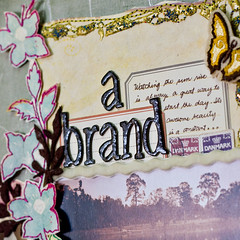
What I love about this layout:
Aside from the photos that I absolutely adore, I also LOVE the Glazed cardstock from Bazzil. It's the first time I've seen one! At first, I didn't know what to do with it. But then, I realized I can distress it and the glazed area will resist the distress ink. Voila! Instant patterned paper!
I also love the flower shapes at the bottom of the page from the Katie paper, and the distressed cardstock provided a very nice background for those lovely blooms. Did you notice the glaze on the flower centers? It mimics the epoxy brads I used as accents. At least that was my intent. :)
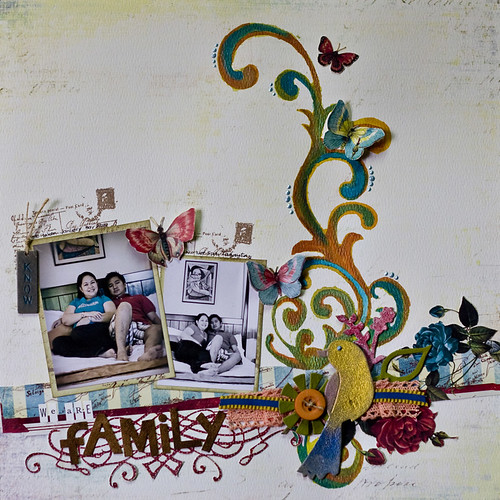
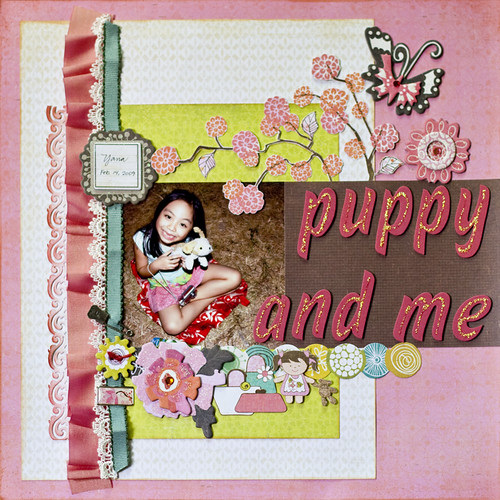
PUPPY AND ME
Materials:
Paper – Crate Paper Pink Plum Collection (Very Berry, Tangerine), Crate Paper Paper Doll Collection (Katie, Olivia Grace, Addi, Ashley); Ink – Tim Holtz Distress Ink (Tea Dye); Chipboard – Crate Paper Brook Collection Chipboard Accents and Sparkle Chip, Pink Plum Collection Sparkle Chip; Brads –Crate Paper Pink Plum Collection Art Brads; Stickers – Crate Paper Brook Collection Title Stickers, AdornIt Mini Alphas; Others – Thickers, Stickles
Instructions:
Distress edges of Tangerine paper with Tea Dye distress ink.
Cut Very Berry paper to 8.5 x 11 inches. Then, from the remaining scraps, cut out some branches and flowers.
Cut Olivia Grace paper to 8 x 5.5 inches.
Cut Katie paper to 8 x 1.5 inches. Punch the edge with a fancy pattern. Distress edges with Fired Brick ink.
Cut Ashley to 5.5 x 4 inches. From the scraps, cut a few bag patterns.
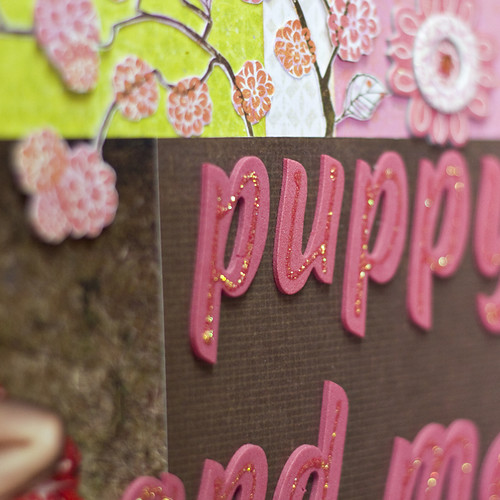
To assemble, adhere 8.5 x 11 sheet of Very Berry paper. Then adhere the Olivia Grace 8 x 5.5 sheet and the strip of Katie paper. Stick the photo at the center of the 8.5 x 11 sheet. Add the trims and embellishments – stickers, chipboards, paper cut outs. Add the title. Apply Stickles on the foam alphas for additional sparkle.
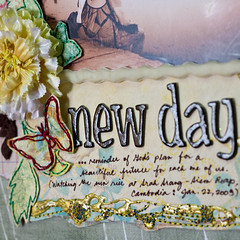
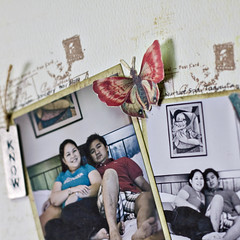
What I love about this layout:
I asked my hubby if he likes it and he said YES. He said he likes the glittery title. And I have to agree with him. I'm glad I decided to add the Stickles.
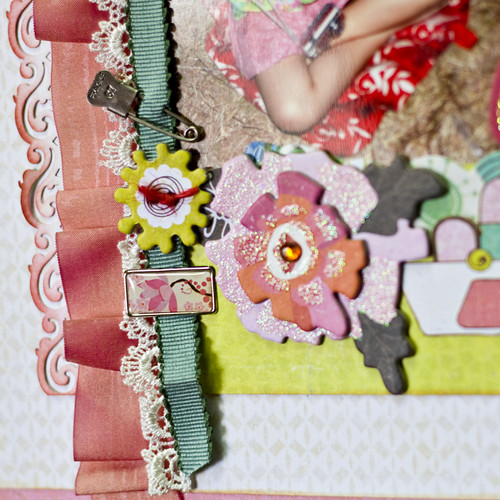
I also love the layered trims on the side of the page - again, I used the Tiny Attacher to pleat the ribbon. I also like the gathering of embellishments below the photo.
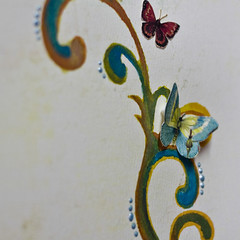
AND the branches! It took a while for me to cut them out and at first I didn't know what to do with them. I am just happy that it all came together.
That's it! Special thanks to
MY LITTLE ATTIC for providing the materials. CRATE PAPER products are available at the
store so feel free to drop by and get some of these yummy goodies.