
I lost no time trying out the digital stamps. So here are my creations.
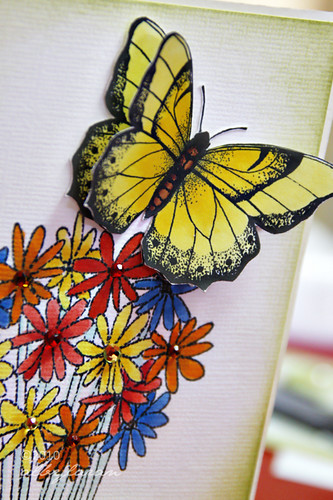
For this "everyday" card, I used a combination of rubber and digital stamps. I printed several butterfly images on a letter-sized cardstock and colored two of them with varying shades of yellow Copics.
Meanwhile, I stamped a floral set on white cardstock and colored it with Copics. I cut a slit on both sides of the stems and wrapped a ribbon around the bouquet of flowers. I then inked the edges of the cardstock with Peeled Paint distress ink and adhered it on an A2 card.
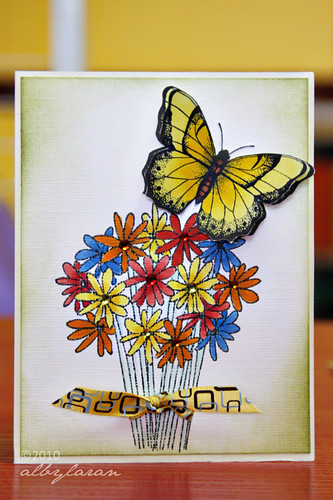
Then, I layered two butterflies on the cardstock. I added bling on the center of some of the flowers for a bit of sparkle.
My next card is made from 100% digital elements. Even the background paper was done digitally. I used Hero Arts' digital paper that came with the kit, stamped the Word Art Dictionary on top of it, and stamped a Bird in a Cage image on the bottom right corner. I resized the image to fit an A2 card.
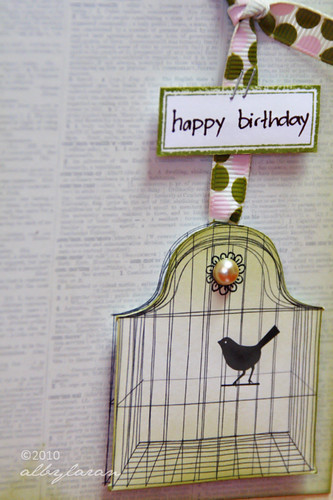
Then I stamped the same Bird in a Cage image several times on white background. After printing, I cut out the background paper which is slightly smaller than an A2 card and distressed the edges with dye ink. Then, I cut out a plain white print out of the Bird in a Cage image, distressed it with Peeled Paint ink and layered it on top of the patterned paper background.
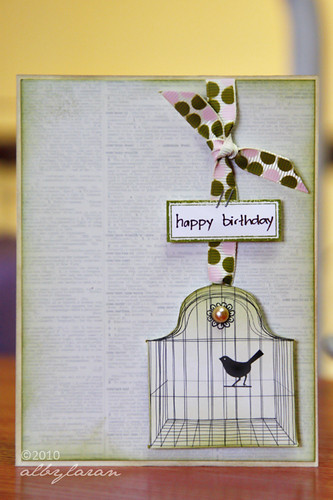
Then I cut a small slit on top of the birdcage and tied a ribbon to make it look like that the cage is hanging. I then added a handwritten sentiment and attached it using the Tiny Attacher. A small pearl adds a touch of elegance on this card.
This week, I'll do a bit of coloring on all the butterfly prints. Hopefully, I'll be able to make more cards this weekend.
Thanks for looking!
Thanks for looking!

5 comments:
Hi Alby! Thanks for dropping by my blog. I love your cards especially the one with the bird & pearl! :) I hope someday makagawa dn ako ng ganyan... :) Happy anniversary to you & Ariel. :)
Alby!!!!! Oh no, I don't want to get started on this. But you make it so tempting! Your cards are really really beautiful!
Thanks for the heartwarming comments ladies!
Airees,kayang-kaya mo yan no! And you're the real expert - your handmade invites are awesome! :D
Iris, I thought this would be great for mass-produced cards. I've been planning to stock up on birthday and everyday cards so this looks like a cost effective but still beautiful solution. Perfectly stamped images everytime. With a digital image, I can use each one a hundred times, in different sizes and colors. I can color them digitally or by hand (more fun!). :D
love the cards! how do you do that? amazing!
Thanks Ems! :D
Post a Comment